My earliest recollection of my mother’s cooking was that there was a lot of food and it was good. We often had relatives at dinner. My mother would cook a large meal and we might eat leftovers for a few days after. Sundays after church we would run across the field from the white stucco church building on Spencer Highway in South Houston to our house, an asbestos tiled two bedroom, one bath house frame house painted bright yellow with white trim. We knew we would find some good cooking smells coming from the kitchen.

Here’s a picture of the house. It had a white pebble roof. My brothers and I would swing onto the roof from a nearby tree and use the rocks as ammunition in our never-ending battles with invading armies of terrifying gorillas. Of course, we weren’t supposed to get on the roof. The rocks would fall off. My father kept a bucket of tar in the backyard to slather on if a leak developed and then he would plant more white pebbles in the tar. The bucket would warm up in the summer sun and we would grab handfuls of tar to make things – usually a mess.
Every Sunday there was waiting in the hot oven: a ham, or a pork shoulder, or a roast. It would be our only real meat for the rest of the week. Not that we were lacking. We always had food, but that was down to my mother’s creativity. A lot can be done with leftovers. Then there was baloney, or Spam, hot dogs, cheese and potatoes.

In this photo, the grownups and the smallest children were dining in the soon to be completed living room of my grandparents’s new house. That is a cement mixer in the back. The blue and white willow china was Nannie’s everyday dishes. I have the coffee pot and espresso cups from the set.
 The other technicolor picture is the “kids” table. I’m at the far right in the blue and my cousin Karen is next to me on one side and my oldest brother is on the other side. Going the other way is cousin Paul, Kathy, brother Jon, and cousin Mark. This is a quick run down memory lane, but my cousins and brothers may appreciate the nod to the past.
As I matured and became more aware of others, I came to realize that my mother liked to find recipes where she could save time using canned ingredients. Mind you this was in the 1960s when more items were lining grocery shelves. Some of her favorite recipes in those days would not be very appealing these days when we have such lovely fresh things to cook with, and so much choice! Today’s recipe I’m going to take one of my mother’s “canned” goods concoctions and substitute one fresh ingredient. I hope you like it.
Mary’s Snappy Asparagus
Ingrediants: 1 can asparagus
1 can Cambell’s Cheddar Cheese Soup
1 can French Fried Onions
As you can see I’ve substituted the canned asparagus with fresh asparagus. Canned asparagus is mushy. The soup along with the mushy canned vegetable would be not very appetizing.
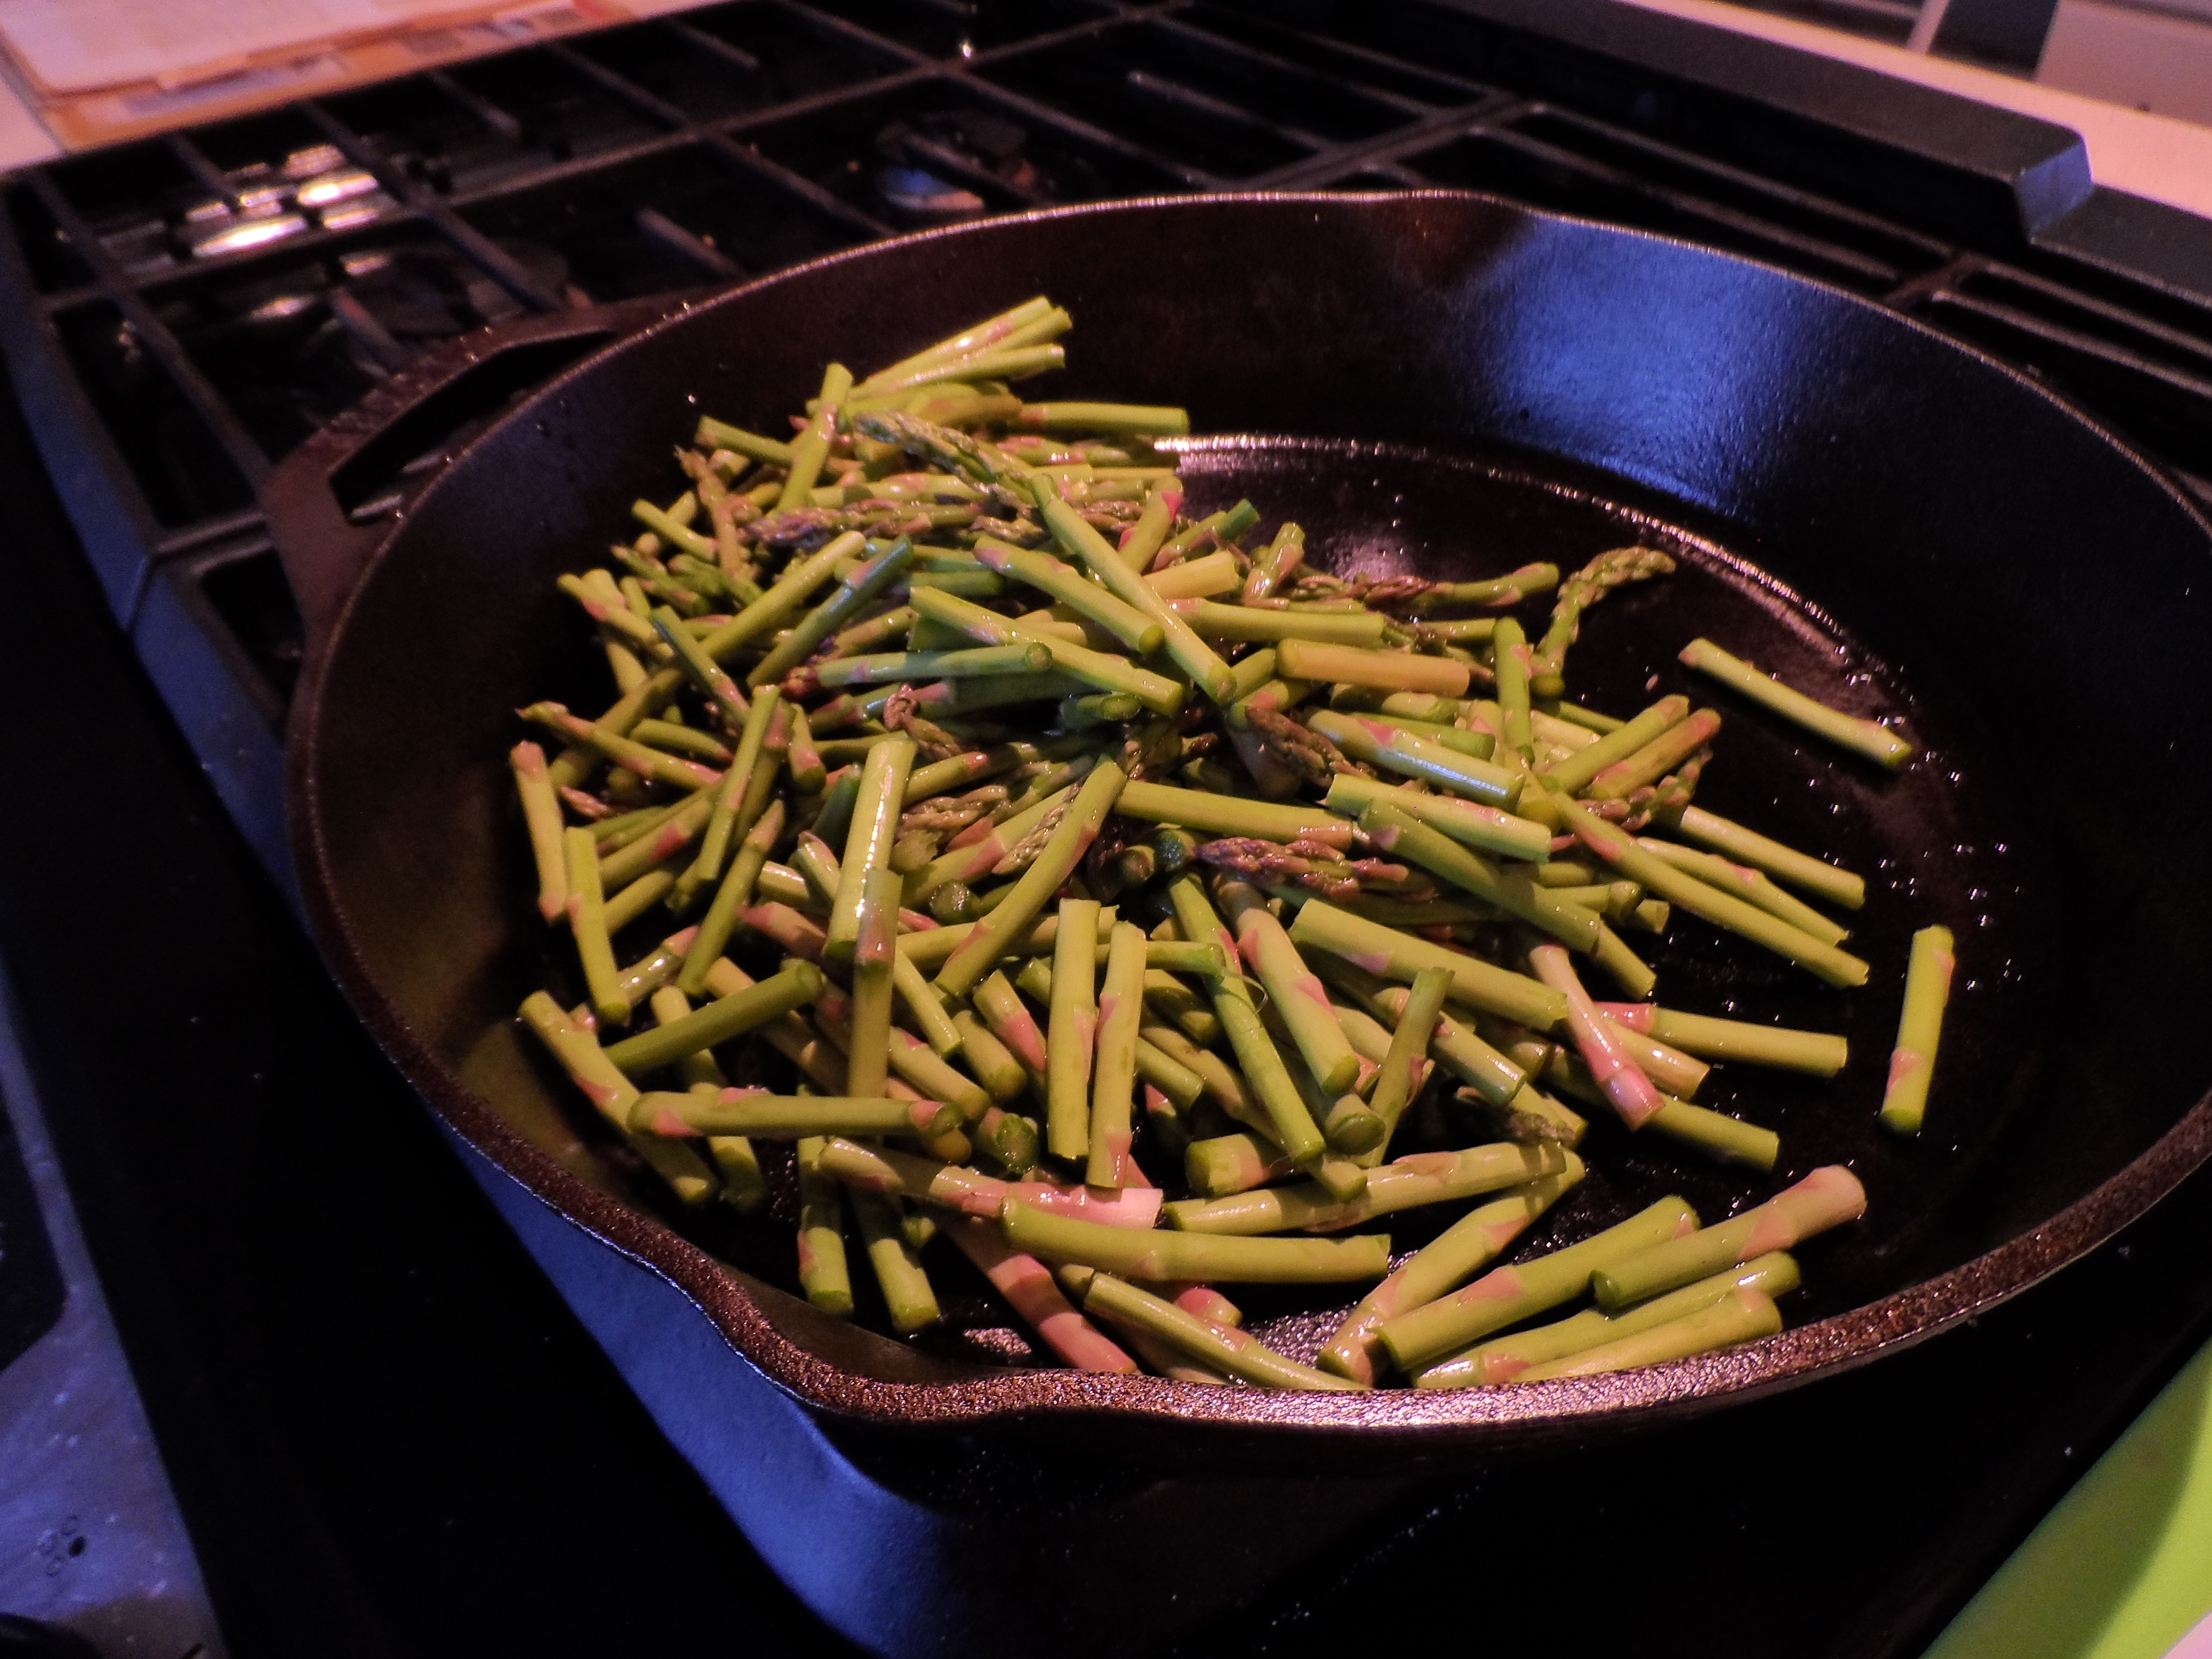
In order for this recipe to come out as my mother would have planned, I will have to cook the asparagus. I choose to saute these stalks in olive oil using a pinch of salt and pepper to taste.
I’ve found young stalks. It is February when asparagus is ready to be cut here in the south. If the stalks do not make an audible “snap” when bent they have been sitting too long in the store or are too tough to eat. By September the stalks you find in the grocery are thick as my thumb.

You must cut the ends off way up the stem to get to the tender, more edible part. With this young asparagus, all I’m going to have to cut is a few inches from the bottom and rinse in cold water to knock the dust off. Then I will cut into inch long pieces to saute.
Yum! I actually like asparagus raw. Tastes like sunshine!

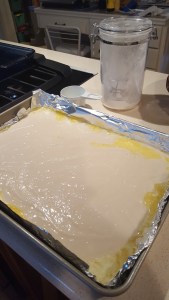
The recipe calls for layering the asparagus and the cheese soup. But my efforts layering the cheese soup were comical.
The soup from the can is thick. I found that mixing the two together was better.
Put the onion on top and bake at 350 for 30 minutes. You can also put this in the microwave on high for five minutes. I sprinkled some cheddar cheese on top, too.
Here is the end result. It turned out very tasty. I served it alongside lemon pepper chicken tenders and bow-tie macaroni with mushroom seasoning from House of Seasons.


 The recipe as you see it here has no flavoring in it. I made this as it is stated and when it came out, it was pretty awful. I think this must be her original recipe that she wrote down so long ago.